In this era of self-isolation, many naturalistas will most probably keep their hair in a bun or in twists and not do much to their hair. Well, that shouldn’t stop you from protecting your hair at night. Satin and silk pillowcases, scarves and bonnets have been used for years to protect the hair.
If you want to prevent breakages, retain moisture and prevent the hair from tangling, then you must have a satin or silk bonnet. And it’s mainly because you can customize it to your taste and it’s very easy to make.
You don’t need to have any advanced skills in sewing to make a satin bonnet and it can be two-sided or reversible. You can opt to have it sewn by a machine or just hand sew it.
RELATED STORIES


Materials needed:
2 Types of Material (one being satin for the inside) (1 yard of each)
Scissors
Elastic (your choice of size)
Measuring Tape (optional)
Needle and Thread (to hand sew) or Sewing Machine
Safety Pin
Iron (optional)
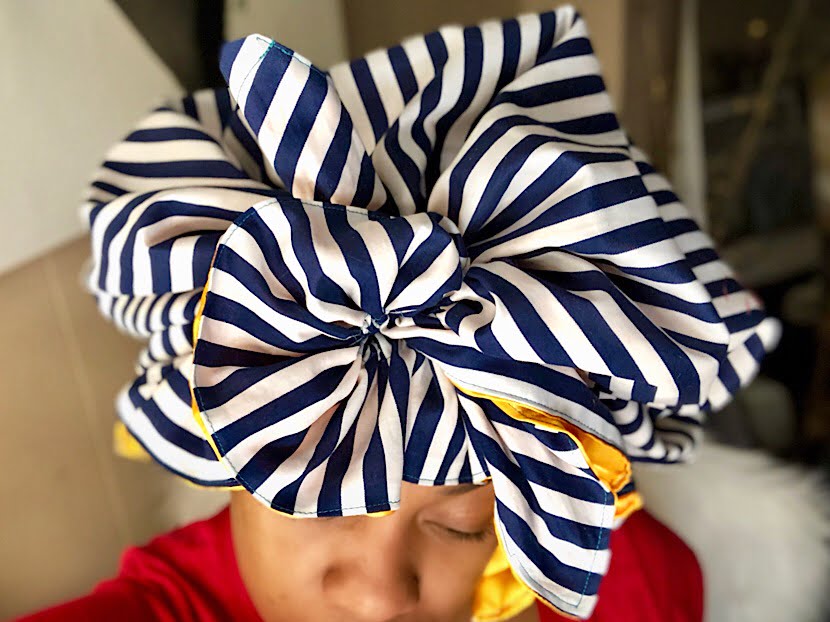
Photo: itsterreana.com
Satin bonnet steps
Start out by taking both yards of fabric and make sure they are even. (You want a square or rectangle type shape)
You can use a measuring tape to make sure each piece of fabric is the same size.
Place each piece of material on top of each other making sure to keep the patterns on the inside (facing each other).
Now that they are placed on top of one another, sew them together leaving an opening large enough to put elastic through and to pull the material right side out.
After sewing the fabrics together, cut any extra fabric by the hem then pull the fabric right side out. Tuck the extra fabric from the opening inside.
This step is optional. Iron any wrinkles out of the fabric.
Now that the bonnet is turned right side out, sew a hem on the perimeter of the bonnet. Make sure you don’t sew over the same opening that you pulled the fabric through. You need to be able to place the elastic inside.
Later, you will sew up that opening.
Sewing a space for elastic
The hem is sewn all around the bonnet. Now it is time to sew 2 parallel lines so that the elastic can be placed inside the bonnet. Depending on the size of elastic you choose, sew the lines about the same width of the elastic.
You want to sew the lines around the bonnet making sure to stop sewing at the previous opening in step 3.
Start sewing about 2 inches away from the hem so that you get a ruffle effect on the end of the bonnet.
After each line has been sewn, thread the elastic through the opening.
It helps to use a safety pin at the beginning of the elastic so you can push it through that tunnel much easier.
Once the elastic is threaded through, pull it slightly until the bonnet starts to gather. Do this until your preferred size.
Keep in mind it will stretch out a bit. Don’t make it too tight or loose.
Place it on your head to measure it easier.
Now that you have the perfect size, tie a knot on the elastic and cut off any excess elastic.
Fold the fabric inside by the opening and close up the opening by sewing along the existing lines.
Connect each line until each opening is closed.
You may need to stretch the bonnet out a bit to make sure each line is closed properly.
That’s about it. Don’t forget to personalize it by adding extra ribbons or jewelry and rock that satin bonnet anyway you want.