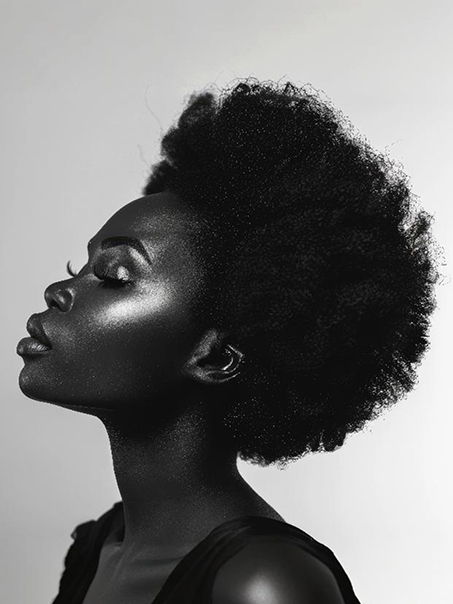
You asked and we listened: Face2Face Africa was delighted to receive a note from one of our readers, Taina Agosto, in New York City. Taina — like many others — would like to overcome the challenges of putting on false eyelashes. But no need to worry, ladies, we’ve got you covered! Today, we’ll go over tips and tricks of how to apply and remove lashes.
SEE ALSO: Check Out These Grooming Products for Men
Keep Up With Face2Face Africa On Facebook!
To get started, you’ll need the following:
~DUO Eyelash Adhesive
~Nail Scissors
~Eyelash strip
~Tweezers
~Mirror
Step One
Always measure the length of the lash to make sure it fits your eye shape. If it’s too long, use the nail scissors and clip the outer edge so that it’s a perfect fit. This will eliminate the droopy effect you can get by having the wrong size lashes.
Step Two
After you’ve measured the right size of your lash, take both ends and bend them into a “C” shape. Then hold for a few seconds. This method takes away the straightness and ensures it will mold to your eyes and eliminate lifting on the corners.
Avoid the glue that comes with your lashes and instead purchase a stronger adhesive for longer lasting results like DUO Eyelash Adhesive (pictured at right). If you have steady hands or haven’t been drinking any caffeinated beverages, try squeezing the glue to the lash strip. Be generous to the inner and outer corners to avoid the lash from lifting when you start blinking.
Feeling shaky?
Here’s a quick tip! Apply the glue to a flat surface, like the end of your tweezers, and glide the lash strip until you have coated the strip. Just remember that the outer section is toward your ear and the inner is toward your nose.
Step Four
Wait for 10 to 12 seconds, allowing the glue to get tacky. This will make it easy to apply and much easier to stick.
Step Five
Aim for the base of your natural lash line and slightly push in. You should feel a groove as you’re pushing — right on top of your lashes — not touching the eyelid. I suggest pushing in the center of your lashes first as it helps to secure the entire lash. The good thing about DUO Eyelash Adhesive is it dries clear, so it’s OK if a little gets on your skin.
Step Six
Once you have on both lashes, apply black mascara and press the false lashes together with your natural ones to give a flawless look. If you have noticed a gap between the falsies and your lashes, don’t worry. Just apply a matte black eye shadow, which acts as an eye liner and hides the gap.
Always remove false lashes before the rest of your eye make-up. Take a Q-tip and dip it in to your make-up remover or try using coconut oil and rub along the lash line. Dabbing the Q-tip in to a remover or coconut oil will loosen the glue adhesive and make it easy for removal. Next, close your eyes and lightly grab the lash by the outer corner and start peeling away from your outer corner to your inner corner. It’s like peeling off a sticker.
There are several lashes on the market with different looks and price points. Lashes can be worn to enhance your natural lashes or to give a glamorous look. For those of you that are looking to be a little more creative, try Ricky’s NYC’s bold, easy-to- apply paper art lashes. My favorite is the mini’s great little accents. This also works well with DUO eyelash Adhesive.
I hope these tips have been helpful, and as we embark on the upcoming holiday season, (don’t worry you have more than enough time to practice) you’ll get comfortable and become a pro. Remember, have fun with it!
Be sure to send us a beauty note or questions to rj@renardajoynyc.com.
Until next time, stay beautiful!
SEE ALSO: How To Get Your Summer Make-Up On


